

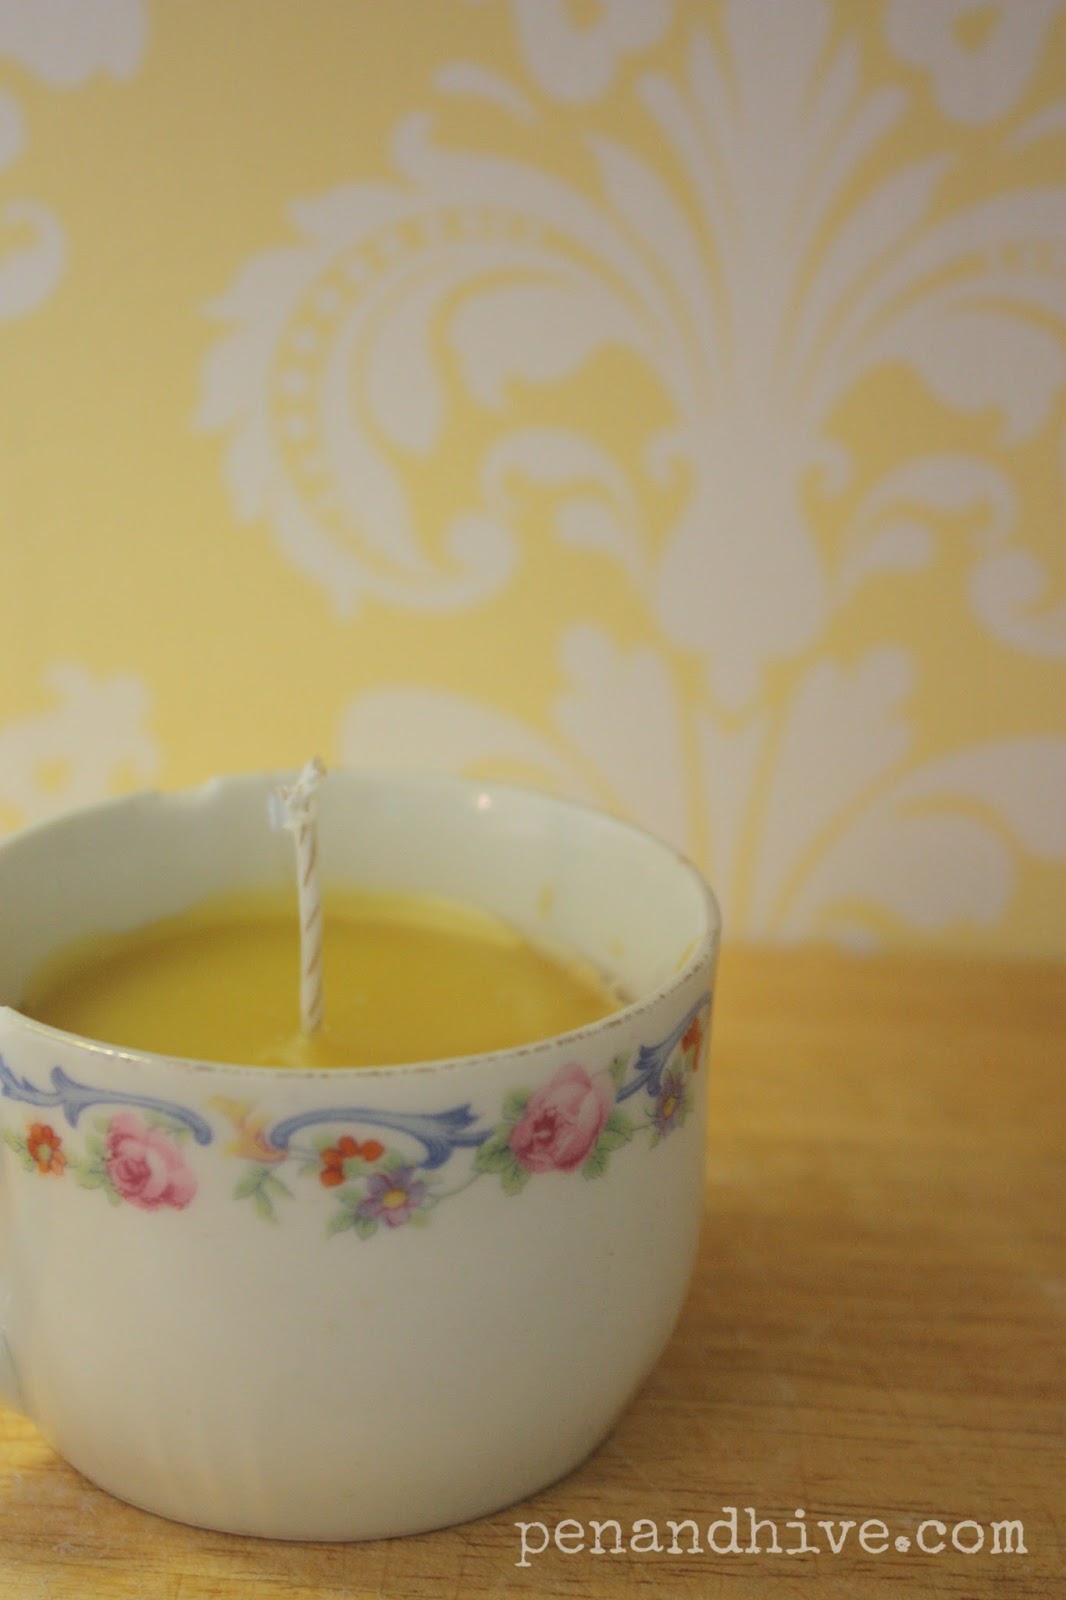
Besides honey the other product produced by a colony of bees is the beeswax that they create to store brood, pollen, and honey. It has a lot of uses. While I generally use the wax I end up for skin care products I finally got around to making my first candle. I decided to make it in this adorable tea cup that belonged to my mother in law.
See what the wax looks like in the hive here.
I haven't made candles since I was about 12. Remember making them in milk cartons? Those were with paraffin wax and weren't even scented. This little project took just a few minutes. If you don't count the hundreds of hours tending bees and an hour or so rendering the wax.
Read about rendering beeswax here.

You start by grating the beeswax into a bowl so that it will melt faster and more evenly.

I melt it in the microwave 30 seconds at a time. Don't forget that whatever you melt beeswax in will be unusable for anything else. Designate one bowl for this project.


Use a knife to keep the wick straight. When the wax is thoroughly melted quickly quickly pour it into the cup.

Allow the wax to harden. You will see that the color changes to a beautiful honey yellow.
You could add color and scent to candle in the melted stage but I thought it was lovely in its natural state.
Now how about a moisturizing hand cream?

I recently received an email from a fabulous woman in my city who had a vision a few years ago for a place in an inner city neighborhood where children could have an opportunity to express themselves through art and gardening. Erin Harris began the Carpenter Art Garden and if you think one person can't make a difference check out the website: Carpenter Art Garden. I was thrilled to get to partner with her in creating something special for her volunteers.
Everything I make contains honey or beeswax. Part of the fun of beekeeping is providing people with unique gifts from the hive. Here's a picture of my girls creating the wax that went into this project. They represent the ultimate community and spirit of cooperation. I was thinking about that while working on this order to be given to people who also exemplify those qualities.

The comb melts down and needs to be rendered before using it in projects. Read my post about how I do that here: How to Render Beeswax.

Here's the recipe I used for the one time batch I designed especially for her event. I mixed up a little over a half gallon to create 35 2 oz. tins.
Ingredients: 3 C. coconut oil
1 1/4 C. olive oil
1 1/4 C. almond oil
1 1/4 C. cocoa butter
1 C. shea butter
1/8 C. beeswax
1/8 C. honey
approx. 16 drops lavender essential oil
Melt all the oils and wax together in the microwave a few seconds (about 15-45) at a time. Stirring in between. This was a large batch for me, so it took a while. Then I carefully ladled the concoction into these tins. I am so in love with the purity of this process and how beautiful it looks and how it changes as it cools.

Okay, I am kind of obsessed. See how it started out looking like oil?

Then the gloss fades just a bit...

Within minutes it solidifies and turns a creamy pale yellow, the color of the beeswax. I am seriously excited by this!
I wanted to create a special label for this order. Most of us aren't even aware of how much work in our cities gets done by volunteers! There is an iconic purple house associated with the Art Garden so I used purple and named it The Garden. Volunteers work super hard so lavender seemed like the perfect calming scent to add and it related to the purple in the label. The tag line I used for this scent was "for helping hands." I wanted the volunteers to know this gift was created from start to finish with them in mind.

Punching out the labels might be my favorite part of this whole process. There is something very satisfying about creating perfect circles.

I was thrilled with how this turned out. I received an email that evening after the event saying that everyone loved their gifts. I did a little happy dance in the Pen & Hive kitchen! I am always super excited to create things that bring people happiness and make them feel loved!